Tuesday, November 4, 2008

VOTE!

I voted today. Did you?

This is the first time I have truly been excited to vote for my candidate. I feel like I am a part of history today and I hope I can stay up to watch all the returns tonight.

So, please, love your country and vote today!! Besides, you can get a bunch of free stuff if you do.

Friday, October 31, 2008

Blogging might be slow in the future

The shitty economy has hit The Good Household. I will try and keep the blog updated at least once a week but other things might keep me away. Life doesn't come without challenges and I hope this is only a bump in the road so please don't abandon ship. I will try and be at it again soon.

Monday, October 27, 2008

Halloween Decor

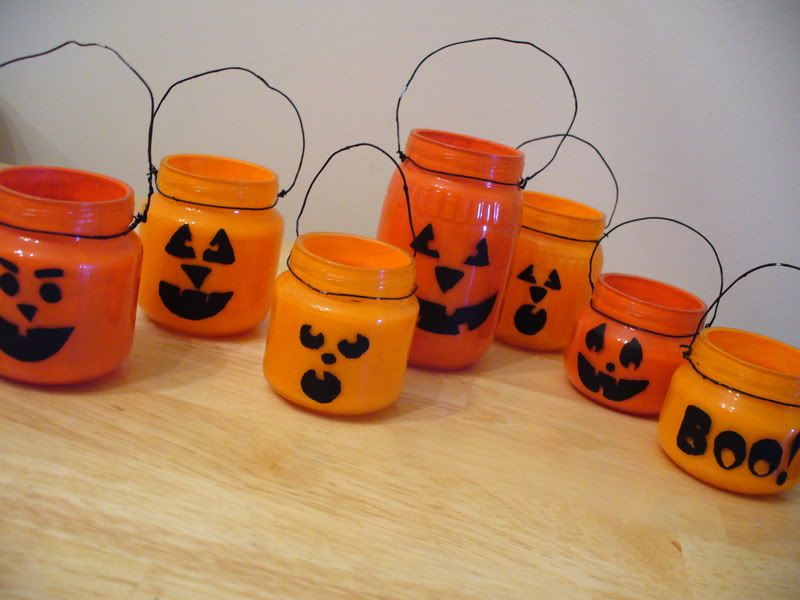
I first saw this project in the Martha Stewart Living Sept 04 issue. I thought it was a super cute idea and easy to make, or so it seemed. Following are the directions from MS and how I really made these super cute jars.

Tools and Materials
Clean jars
Oil-based enamel paint in black and orange or yellow
Paintbrush
Extra-wide masking tape
Marker
Utility knife
Plastic-covered 20-gauge wire
Needle-nose pliers
Small candle (such as the LED candle)

Jar-o'-Lanterns How-To:
~In a well-ventilated area, paint inside of jar orange or yellow until opaque. Apply masking tape to outside. Press out air bubbles. Draw a jack-o'-lantern face in marker on tape (or print out our templates onto adhesive labels). Cut out and peel away features with a utility knife to form a stencil (an adult should do this).

~Paint stencil with black paint. When dry, peel off tape.

~For a handle, loop the end of wire with pliers. Make a lasso shape that will hug jar. Bend remaining wire over for a handle. Cut wire; make another loop to hook onto ring. Slip ring over jar's mouth; tighten.

NOTE: For the jars, I used baby food jars. I didn't want to waste all that baby food, so I got foods that I would eat - bananas and pudding. I got several different sizes and I thoroughly washed and dried each one.

Then I used acrylic paint instead or oil based. I used Delta Creamcoat in Pumpkin and Tangerine.

Next, I tried to do the stencil but it was such a pain in the ass, that I decided to free-hand it. I used Delta Creamcoat in black and I painted the faces on by hand.

Also, instead of using plastic wire, I just used silver floral wire from the craft store and painted it black. I did use the pliers to tighten the wire but since I thought the jars were rustic, I didn't worry too much about being perfect.

I made these jars back in 04 and someday I might paint some more to add to the collection. All in all it was about a 4 hour project, considering since you pain the inside of the jars, you can paint the outside while the inside dries. You can also save time by either using black floral wire (if you can find it) or by leaving it sliver. I have never actually put a tea light in the jars, since I think they look fine as is, but you totally can.

I put the pumpkins out this weekend and when The Good Husband came home he noted I had them out. He knows how much pride I have in finishing projects I start so it did mean a lot to me that he commented on them. I think he thinks they are cute too.

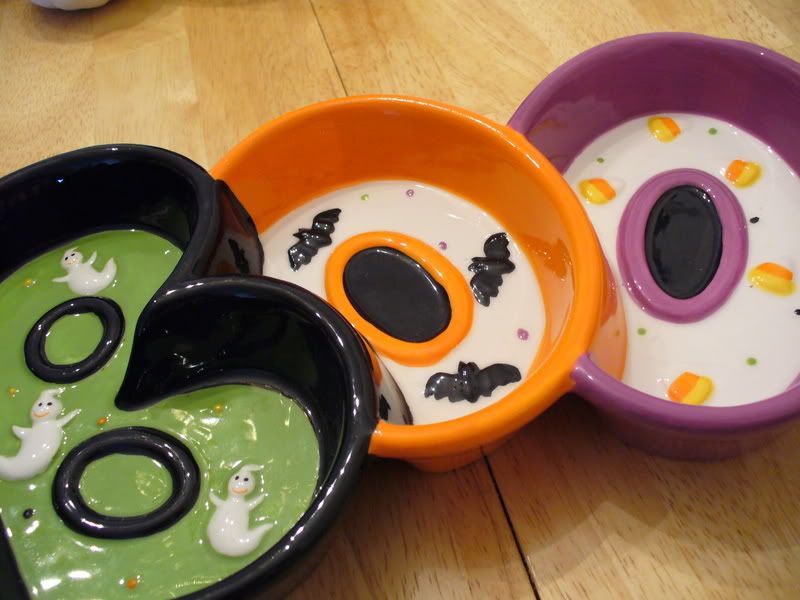
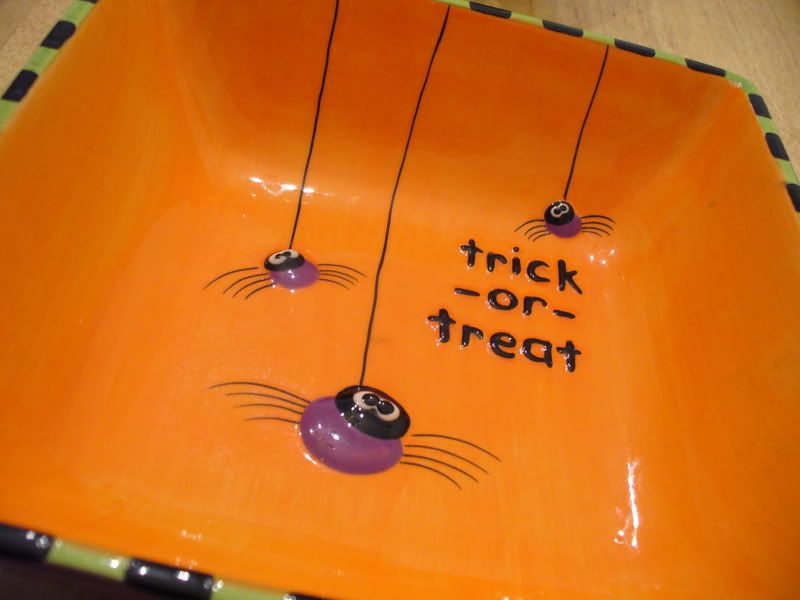
Our candy bowls, sans candy since I would eat all of it before Halloween

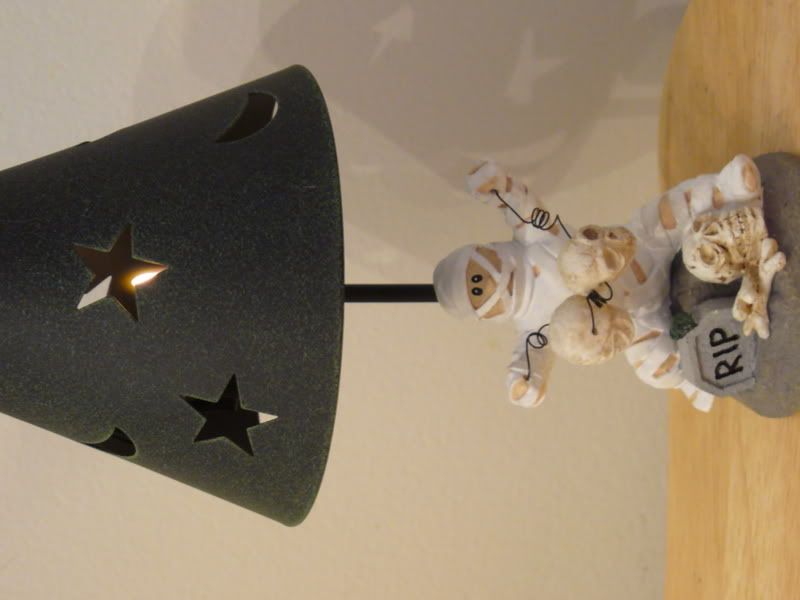
My mummy candle holder
My trick to any decorating is I always go to the craft store the week of the holiday to get the best stuff on clearance. That way I get it on the cheap and I can put it out for at least one day. I have found that if I wait until the holiday is over, all the good decorations are picked over or are removed all together for the next holiday's decorations.
project modified from: Martha Stweart Jar-o'-Lanterns

Friday, October 24, 2008

Colleen's Potatoes

This is yet another dish I was introduced to at a family gathering. I will say that having such a large family that I married into has it's benefits. I like this dish for several reasons; 1.) it adds to my potato repertoire, 2.) it is just cheesy goodness, 3.) it has a stick of butter in it, and 4.) another half stick of butter in the topping.

How can you not love that? I am actually kinda pissed that I gave The Good Husband the last of the leftovers for lunch today. Oh well.

I get a feeling that this is a dish that goes by several names. When describing the cheesy, buttery goodness to my mom she said, "Duh! That is Texas Potatoes." This from a woman that never cooks. But a quick google sure enough provides for similar recipes.

I don't care what they say. This dish will always be "Colleen's Potatoes" in the Good Household, a tribute to the best aunt ever!

Ingredients:
1 pkg. frozen Southern style hash brown potatoes, thawed (the little square kind)
2 c. shredded cheddar cheese
1/2 c. chopped onion
1 teaspoon salt
1 teaspoon garlic powder
1 can cream of chicken soup
1 stick butter, melted
1/4 tsp. pepper
2 cups (16 oz.) sour cream

Topping:
1/2 cup melted butter
2 cup crushed cornflakes

Directions:
~Preheat the oven to 350 degrees.

~Combine the first nine ingredients. Mix thoroughly to combine. Pour into buttered 9x13 baking dish.

~Combine cornflakes and melted butter and top casserole. (I like to crush the cornflakes in a plastic bag using a rolling pin).

~Cover and bake for 45 minutes. Remove foil and bake for another 15 minutes until the topping has browned and the center is heated through.

Thursday, October 23, 2008

Ingredient of the Week . . . Cheddar Cheese

I will admit that this is kinda a lame IotW since I really just used cheese as a topping in both of these dishes but oh well. It is getting colder and casseroles are easy to make and always taste better with cheese.

First up is a dish that made it's debut in the Good Household this week: Cheesy Chicken, Rice and Broccoli Casserole. The Good Husband hates rice. The only thing he will eat it in is Porcupine Meatballs. But a lot of casserole recipes call for rice. The trick, I have found to get TGH to eat something he doesn't like, is to cover it with cheese. He loves chicken and he loves broccoli and cheese, so why not add some rice in there as well?

I must admit that while I don't see this staring in a reoccurring weekly role in the Good Household, it is definitely a "make again" dish.

Ingredients:
3 cups chicken broth
1 1/2 cups of uncooked, long grain white rice
2 cups of cooked chicken breast, cubed
2 cups of broccoli florets, cooked or one package of frozen broccoli
2 tablespoons of butter
2 tablespoons of flour
1/2 cup chicken broth
1 1/2 cup of milk
2 cups of shredded cheddar cheese

Directions:
~Preheat oven to 350 degrees F.

~In a medium saucepan, bring the 3 cups of chicken broth to a boil. Mix in the rice, cover and simmer for 15 minuets.

~In another sauce pan over medium, melt the butter with the flour to form a roux. Slowly add the 1/2 cup chicken broth and the milk, whisking to break up any lumps. Continue to whisk, in a figure eight pattern, until the sauce is thick and bubbly. Add the cheese and whisk to combine.

~Once the rice is cooked, add the chicken and the broccoli and stir to combine. Pour the cheese sauce over the rice, chicken and broccoli mixture and stir to combine. Pour the mixture into a 9x13 baking dish.

~Bake, covered, for 30 to 35 minutes or until heated through. Remove the foil and top with additional cheese and bake for 10 minutes more, if desired.

recipe by: The Good Wife


The next casserole of the week is a star in the Good Household: The Original Tater Top Casserole.

This dish first made it's debut on the blog under the Ingredient of the Week . . . Ground Beef, in the "sloppy" version. But this is the original, and as TGH would argue, best version of the dish.
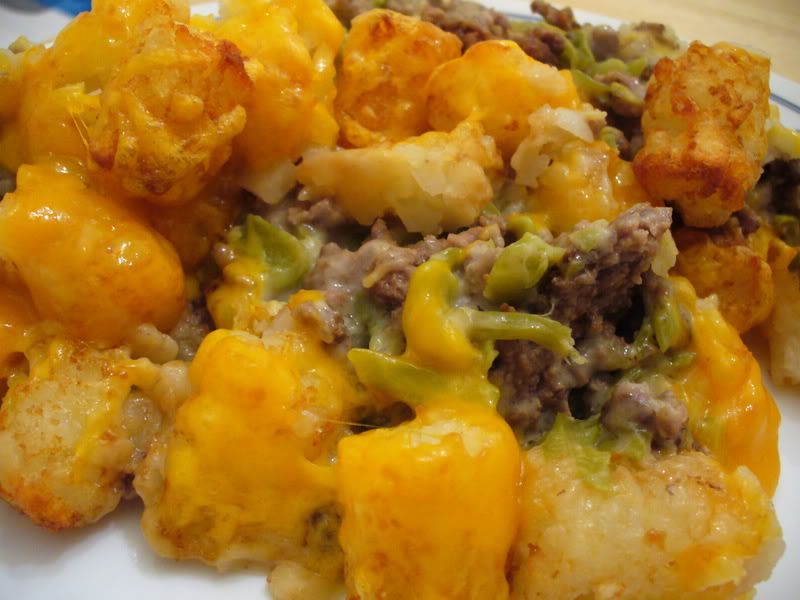
The Original Tater Tot Casserole
Ingredients:
1 lb ground beef
1 lb ground turkey
Salt, pepper and grill seasoning to taste
1 15-ounce can cream of mushroom or cream of celery soup
1 can cut green beans
1 medium bag tater tots
2 cups shredded cheese

Directions:
~Brown meat in a large skillet over medium high heat. Drain off fat and season with salt, pepper and grill seasoning.

~Add the cream of mushroom or celery soup. Drain and add the can of green beans.

~Pour mixture in the bottom of a 13x9 casserole dish. Layer the tater tots on top.

~Bake uncovered for 35 minutes at 425 degrees. Remove from oven, top with the cheese and bake for another 10 minutes.

recipe by: The Good Grandma

Monday, October 20, 2008

Fall Decor

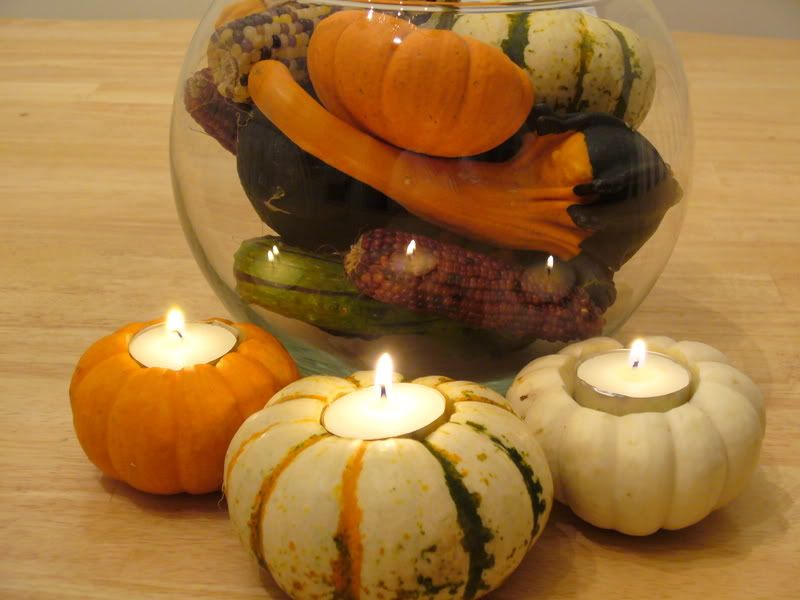
I told you about all the festive pumpkins and gourds I got at the pumpkin patch and I decided to use them for a fall centerpiece. The gourds I bought (4 total) along with 4 mini ears of Indian Corn and one orange, one white and one tri-color pumpkin I placed in a large glass bowl I had. I think it is pretty and festive. I want to get two smaller bowls and put acorns and leaves into those. Maybe by Thanksgiving I will.


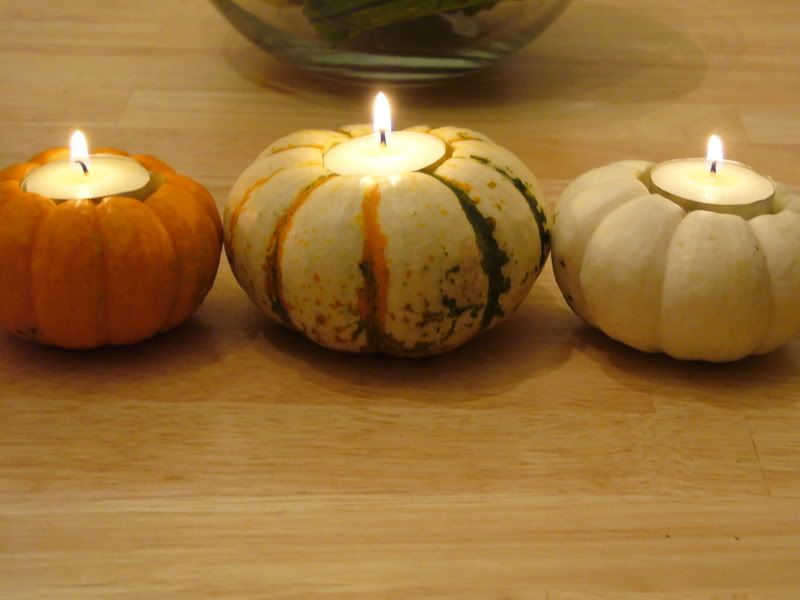
I also made some candle holders from the mini pumpkins I bought.

They are pretty simple to make. I placed a tea candle on the top of the pumpkin and traced around the edges. I then used a small kitchen knife to cut out the hole and a small spoon to dig out the seeds. I stuffed the hole with some newspaper (otherwise the candle would fall down too much in the hole and I wanted it as level with the top as possible) and placed the candle on top.

Move over Martha Stewart!

Trip to the Pumpkin Patch

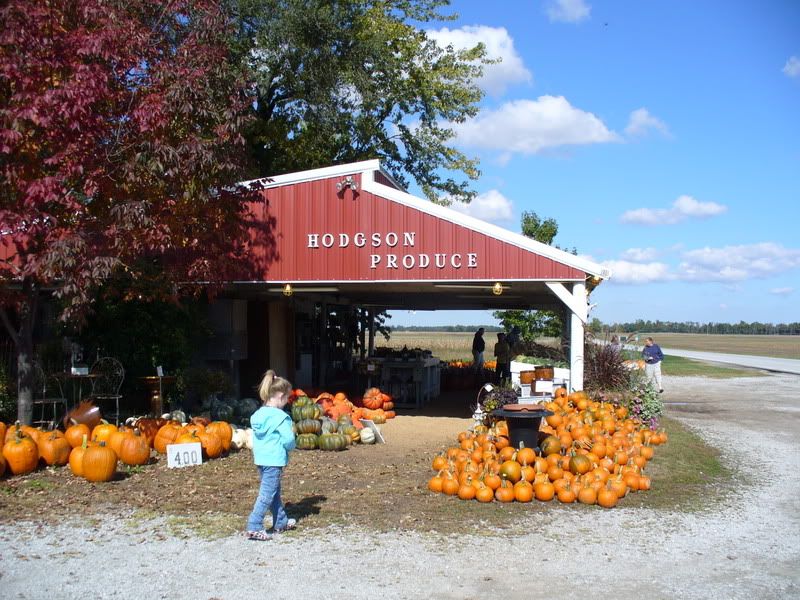
Every year we take The Good Niece to the pumpkin patch to get some pumpkins. This patch and roadside stand are common here in the sticks. This is our favorite stand both for summer produce and the goodies for the fall. It was a beautiful day too.

There is so much produce and decorations that I have a hard time not buying the entire place, much to the chagrin of The Good Husband. He doesn't have the decorating sense I have and cannot appreciate just how beautiful everything is.

Indian Corn, Small Pumpkins
Grey and Red-Orange Pumpkins, White and Green Pumpkins
Gourds, Ugly Gourds
Large, green gourds, Squash - Acorn, Ambercup and Spaghetti

Mini pumpkins - white and orange, Tri-colored mini pumpkins
What we came for: Pumpkins!
Those bad boys were HUGE!! I don't think TGH could even lift them. TGN tried to pick one up, but it was bigger than she was.

All in all, we got 2 normal sized pumpkins for carving and two little ones for TGN to paint - one white and one orange. I also took home some mini white and orange pumpkins, some gourds, Indian Corn and a few tri-color pumpkins.

Afterwards we like to drive around and show TGN the country since she lives in the city. We got to see horses and pigs and goats and a few fields being plowed. We then went up by the river to show her the grain elevators and the barges getting filled. She loved it.

After all that pumpkin getting and driving around we got hungry. And if you are in the sticks, where to you eat?

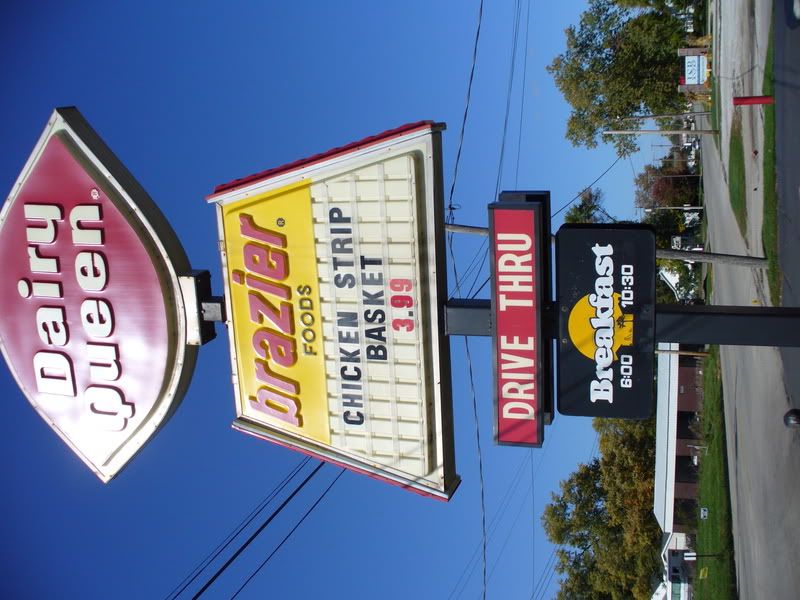
Why, the Dairy Queen, a genuine Brazier. I DID have the chicken strip basket and it was awesome. Thank you DQ! You are a proud part of the "pro-American" areas of our nation! And your Crunch Cones are the best!!

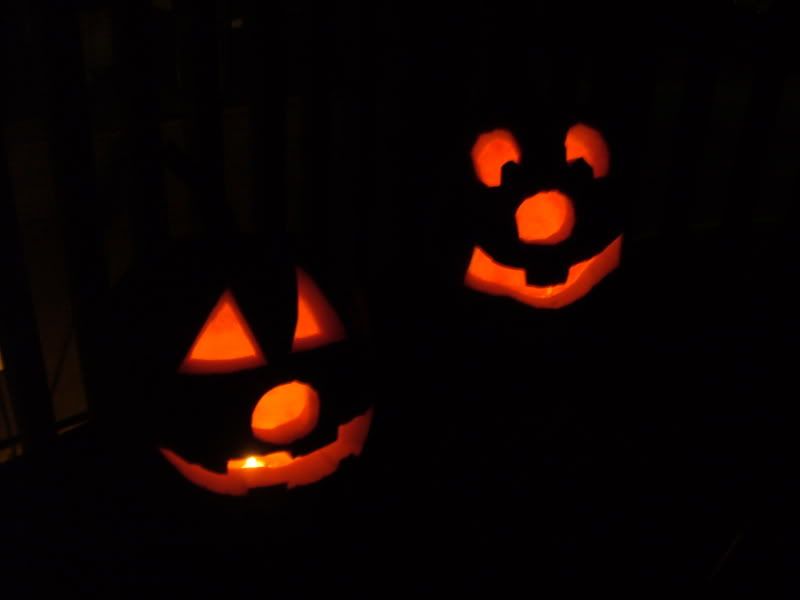
Our day in the country coming to an end, full of chicken strips and ice cream, we headed home to carve our pumpkins. TGN drew the face of the one on the left. She did a good job. Last year she was afraid to touch the guts of the pumpkin but this year she loved it. TGH let her remove all the guts she wanted before he did the carving.
Hopefully these guys will last until Halloween. I hate when they get all moldy on the inside and you have to replace the candle and some of the mold touches you. ICK!

Halloween Cookies

I love Halloween. It is my favorite holiday. I have more decorations for Halloween than I do for Christmas, probably because I hate Christmas but whatever.

I love freaking myself out by watching scary movies. I love eating tons of candy and I love making Halloween treats.


Skull, Ghost
Moon, Cat
Pumpkin, Bat
I used the same recipe to make these as I did the Fall Sugar Cookies.
While I loved making both batches, it is time consuming to make. I was able to watch Superbad, Sleeping with the Enemy and half of Philadelphia while baking and decorating these beauties. But since this is my only real hobby and The Good Husband was preoccupied with baseball and football, it was just fine by me.

Tuesday, October 14, 2008

Trip to the Farmer's Market 4

I had told you that fall is bountiful at the Farmer's Market and it is true. Saturday I was able to go to the bigger Farmer's Market in town to stare longingly at all the bounty.

Decorations
Gourds and pumpkins
Peppers

Arugula for my liberal self, Chives and Sorrel

Root vegetables, Snap Beans


Apples and House Plants

I took home some purple and white snap beans and a half gallon of apple cider and cursed myself for not liking more vegetables.

Sadly the Farmer's Market only has two weeks left before the end of the season. If I had already learned to can, I could enjoy all of this year-round. I haven't gotten to that point in my kitchen adventures yet but more on that later.

Stay tuned, though, as we take The Good Niece to the pumpkin patch and the apple orchard, soon!